I would like to share my very basic and unprofessional ruff making tutorial! I should have taken pics as I went but I forgot. You can also use this same method for making wrist ruffs.
I will warn you before you start that wearing this ruff is not very comfy so do not venture further if you’re fussy about crap in your neck zone.
You will need:
– 5 yards or meters of wired ribbon (see below for details)
– Some simple wide ribbon, cotton or satin is ok, a little longer than your neck circumference (I’ll refer to this as the base ribbon)
– thin ribbon or coord for the ends of the ruff to tie it together
– A needle and thread, color similar to wired ribbon
– optional: cardboard and tape measure
I used wired ribbon for this ruff. It makes construction very easy but maintenance and proper storage are required because if the ruff gets mushed, you have to reshape the wired ribbon loops. This is in contrast to a properly made ruff with regular fabric or ribbon that requires a lot of sewing but keeps its shape well. Examples here.
The most important step is choosing your main wired ribbon. This will show to the outside of course so make it nice looking. I would not recommend satin because it’s gross, and try to avoid anything too present-wrappy.
I chose an off white organza-like fabric ribbon with gold edges which worked well with my wardrobe. I made a pure white version later but the off white was nicer and older looking.
Also the width of the wired ribbon will be the distance it sticks out horizontally from your neck, so don’t go too short or long. My ribbon was about 6cm/2.5 inches wide and worked out well.
As explained above, you will need a strip of wide ribbon as the base for the ruff. This will sit against your neck so it doesn’t need to look fancy. Measure your neck circumference and cut the ribbon to that length, plus a cm or two on either side.
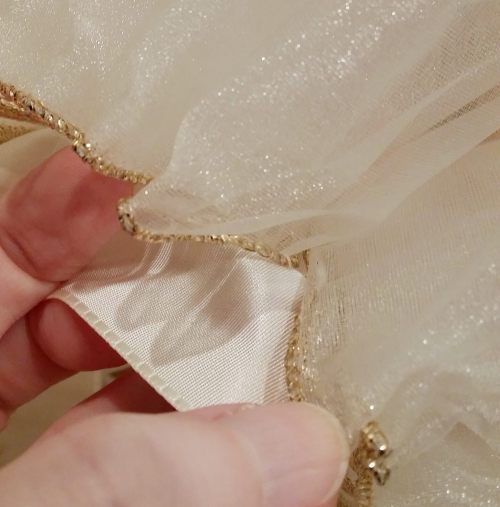
Next I would recommend to attach your neck ties at this stage, although you could do it later. The neck ties will sit on the back of your neck and let you take the ruff on and off by making a bow. Do make sure that the finished length of the base ribbon is really flush against your neck because floppy ruffs with space showing don’t look good with this ruff method. I rolled the ends over twice with the neck ties inside (see below) and just simply hand sewed them down.
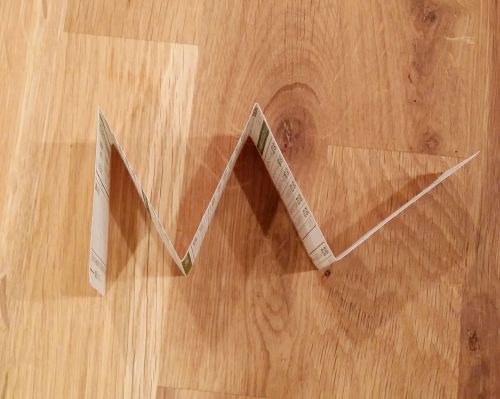
The next and very time consuming step is “accordioning”. You will need to take all of the 5 yards of wired ribbon and accordion it uniformly. I made my accordions about 7cm wide.
To do this easier, I made a piece of cardboard with the dimensions I wanted and used that to fold over and over. And over. Maybe do this while you watch TV.
After you have accordioned all of the ribbon, you have to attach it to your neck ribbon base. To do this, just sew through the midpoint of the wire on each ruffle.
I’m really anal though so to make sure I got even ruffle distribution, I counted the ruffles and kept bisecting the base ribbon and pinning down the midpoints. For example, lets say my base ribbon was 12 inches long and I had a total of 100 ruffles, I pinned down the 50th ruffle on the ribbon midpoint of 6 inches, then bisected the base ribbon again so I pinned the 25th ruffle on the 3 inch line, and the 75th ruffle on the 9 inch line, etc. Does that make sense? haha
So when I was happy with the placement of everything, I hand sewed across all the wired ribbon onto the base ribbon.
The next and final step is turning all the zig zag and pointy accordion wired ribbon into nice loopy shapes like below.
This too takes a million years but then finally you have a ruff! It’s not perfect but it photographs well and is cheap!
Go forth and ruff!


It is perfect! My compliments for the patience!
Thanks so much! 🙂
This is great! I look forward to making one with some matching wristcuffs. I imagine storage is quite a pain, though, but this is too cool not to try.